Settings control the defaults that keep your workspace predictable: profile security, workspace details, timezone, language, accounts, billing, notifications, team access, and exports.
Workspace Settings
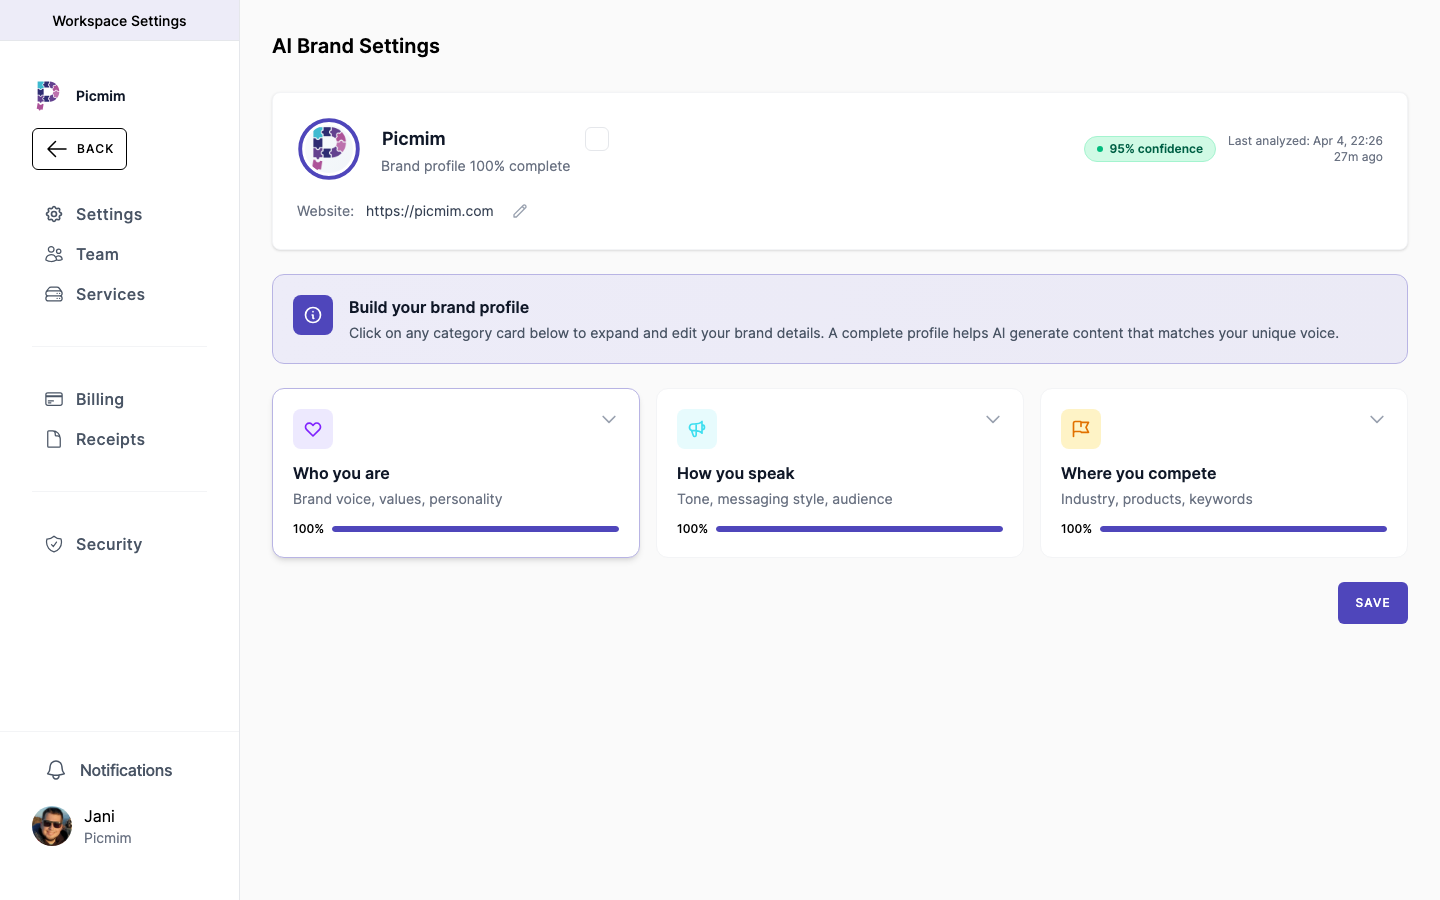
Workspace settings apply to the brand, client, or business you are managing. They influence how teammates see the workspace and how scheduling context is handled.
- Open Settings and choose the general workspace area.
- Update the workspace name, logo, and basic preferences.
- Set the default timezone for scheduling and calendar display.
- Review language and date preferences where available.
- Save changes and confirm they match how your team works.
Composer and Workflow Preferences
Preferences help Picmim behave consistently when you create manual posts, review Plan suggestions, and manage publishing.
- Review any default composer, media, approval, or notification preferences available in your workspace.
- Choose defaults that reduce repeat decisions for the team.
- Confirm platform-specific settings before publishing because not every network supports the same options.
- Update preferences when your workflow changes.
Profile and Security
Profile settings are tied to your user account rather than one workspace. Keep your login details and security settings current.
- Open Settings and choose Profile.
- Update your display name and profile picture.
- Change your email address and verify it if Picmim asks for confirmation.
- Use a strong password and update it when needed.
- Enable two-factor authentication when available for added account protection.
Warning: Store recovery codes safely if you enable two-factor authentication.
Access Tokens and Integrations
If your workspace uses access tokens or external integrations, treat them like credentials and grant only the access required for the job.
- Create tokens only for trusted services that need access.
- Name tokens clearly so you know what each one powers.
- Copy token values only into the service that needs them.
- Revoke tokens you no longer use.
- Never paste access tokens into public documents, support chats, commits, or screenshots.
Warning: Picmim support will not ask for your full access tokens or passwords.
Timezone Settings
Timezone settings affect Calendar display, scheduled posts, Plan schedules, and reporting context. They are especially important for multi-location teams.
- Set the workspace timezone in Settings.
- Review account-level timezone behavior when managing different regions.
- Check scheduled posts after daylight saving changes or timezone edits.
- Confirm a Plan schedule before publishing when the campaign targets another region.
Language Preferences
Language preferences control the Picmim interface and some communication defaults. Caption language for a Plan can be selected separately in the Plan brief.
- Choose your preferred interface language where available.
- Remember that teammates may use their own language preference.
- Set caption language in Plans when Pim should write in a specific language.
- If a translation is missing, Picmim falls back to English rather than showing raw keys.
Data Export
Exports help with reporting, backups, audits, or handoffs. The available export options depend on your plan and workspace permissions.
- Open the relevant export area from Settings, Analytics, or the feature that owns the data.
- Choose the date range, accounts, or data types you need.
- Generate and download the export when ready.
- Store exported files securely because they can contain workspace content and performance data.
Tip: Use Analytics exports for performance reporting and workspace exports for broader operational backups when available.