Use manual posts when you already know what you want to publish. Use Plans when you want Pim to generate a batch of suggestions first. Both workflows end in the same Calendar, where approved and scheduled posts can be reviewed before publishing.
Creating a Manual Post
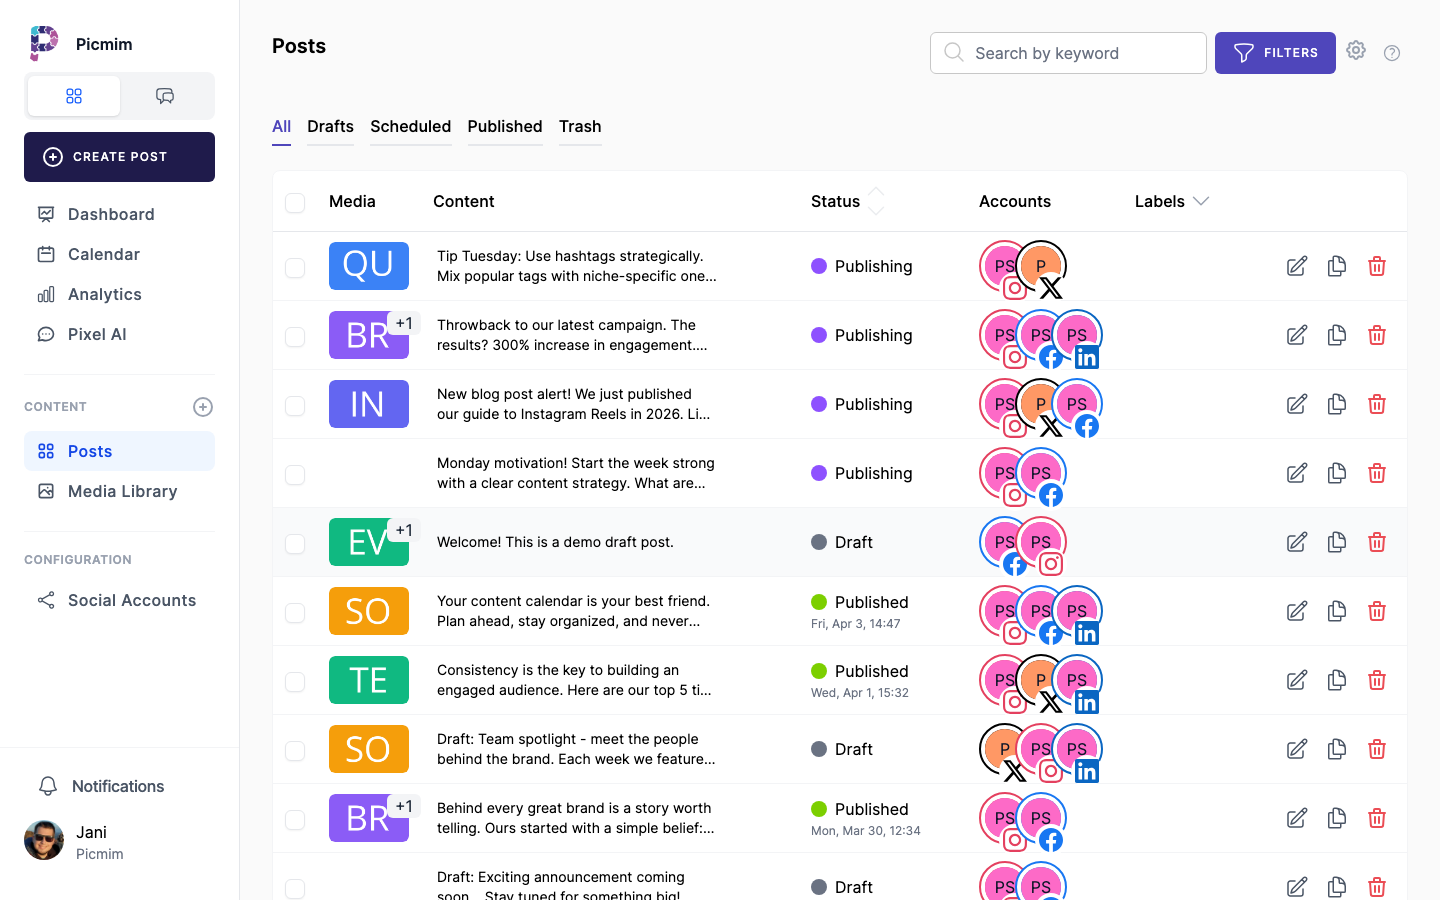
Manual posts are created directly in the composer. They are best for announcements, timely updates, one-off campaigns, and content that does not need a full Plan.
- Choose New Post from the dashboard, Calendar, or posts area.
- Write the caption, or ask Pim to draft or rewrite it.
- Attach images, videos, documents, GIFs, or other supported media from the available sources.
- Select the social accounts you want to publish to.
- Publish now, schedule for later, save as a draft, or submit for approval if your workspace requires review.
Manual Posts vs Plan Posts
A manual post starts from the composer. A Plan post starts as a Pim suggestion, becomes available after swipe review, and is scheduled only when you publish the Plan. After that, it behaves like any other scheduled post.
- Use a manual post when you have a specific caption, asset, or publishing time ready.
- Use a Plan when you want Pim to create several candidate posts from a brief.
- Review Plan suggestions before publishing so declined posts never reach the Calendar.
- Edit Plan-generated posts after they are scheduled if the timing, caption, media, or accounts need a final adjustment.
- Use Calendar filters to see drafts, scheduled posts, published posts, failed posts, and approval states together.
Tip: Publishing a Plan is not the same as publishing to social networks immediately. It schedules the accepted posts for their selected times.
Platform-Specific Limits
Each social network has its own content limits, and some formats are restricted by what the network allows scheduling tools to publish. Picmim warns you when a post exceeds a platform's limits and highlights the fields that need attention. Instagram Stories support one image or one video per scheduled Story, and interactive Story elements such as stickers, polls, questions, and quizzes are not available for scheduled publishing in Picmim.
- Instagram: 2,200 characters, up to 10 images, or a Story with one image or one video per scheduled Story publish.
- X (Twitter): 280 characters, up to 4 photos, 1 video, or 1 GIF.
- Facebook: 5,000 characters, up to 10 photos, 1 video, or 1 GIF.
- LinkedIn: 3,000 characters, up to 9 images, 1 video, or 1 document/PDF post.
- TikTok: Video posts or photo posts. Photo posts publish most reliably with JPEG or WebP images.
- Pinterest: Title and description with a required image, usually vertical.
- YouTube: Video with title and description required.
- Bluesky: 300 characters, up to 4 images.
Tip: For exact media rules, open the platform guide for the destination you are publishing to.
Warning: If one platform rejects a post because of limits or permissions, that does not automatically mean every selected platform failed. Check the post status and retry the affected destination after fixing the issue.
Previewing Posts
The preview helps you catch formatting, media, and platform differences before content goes live. Plan-generated posts and manual posts should both be previewed before publishing or scheduling.
- Check the preview for each selected account or platform.
- Watch character counts and validation messages while you edit.
- Review media order, crop, aspect ratio, and thumbnail choices.
- Open platform-specific settings when a network needs extra fields, such as title, board, first comment, or collaboration details.
Mentions, Tags, and Collaborators
Mentions and tags depend on what each platform allows scheduling tools to confirm. Picmim helps where the platform supports it, but you should always confirm important tags in the platform preview.
- Use @mentions only where the selected platform supports them through Picmim.
- Add Instagram collaborators from the Instagram-specific settings when collaboration posts are available.
- Review image tags and collaborator requests before scheduling.
- If a tag cannot be confirmed before publishing, add it manually on the platform after the post goes live.
Hashtag Groups
Reusable hashtag groups keep manual posts consistent and save time when you publish similar content often. Pim can also suggest hashtags when it has enough caption and platform context.
- Create reusable hashtag groups from Settings or the hashtag manager.
- Name groups by campaign, audience, platform, or content pillar.
- Insert a group while editing a manual post or a Plan suggestion.
- Edit the final hashtag list before publishing so it still fits the caption.
Instagram Collaboration Posts
Instagram collaboration posts can place the same post on your feed and a collaborator's feed after the collaborator accepts the request.
- Create or open a post that includes an Instagram account.
- Find the Instagram-specific collaboration settings.
- Add the collaborator username and review the final Instagram preview.
- Publish or schedule the post. The collaborator still needs to accept the request on Instagram.
Tip: Collaboration availability depends on Instagram account type, permissions, and platform support.
Scheduling Posts
Scheduling stores a post for a future publishing time. You can schedule manual posts directly, or publish a Plan to schedule the accepted Plan posts.
- Choose Schedule instead of Publish Now when the post should go live later.
- Pick the date, time, and timezone that match your campaign.
- Use Analytics and past performance to choose better time slots when data is available.
- Check the scheduled post in Calendar after saving.
- Edit or reschedule before the publish time if the plan changes.
Tip: Plan posts are added to the Calendar after the Plan is published, then can be edited like other scheduled posts.
Choosing Better Times
Picmim can help you choose publishing times by showing performance patterns in Analytics. Use these insights to improve manual schedules and future Plans.
- Open Analytics and review audience and post performance for the account.
- Look for times and days where engagement is consistently stronger.
- Use those windows when scheduling manual posts.
- Give Pim a timeframe in Plans so it can distribute suggestions across the days you want to cover.
Media Fit and Cropping
Images and videos often need different framing by platform. Review media fit before publishing, especially when one post targets several networks.
- Attach media from the Media Library, uploads, Canva, Pexels, GIF search, or supported Plan assets.
- Review each platform preview for crop, aspect ratio, and thumbnail quality.
- Adjust image crop or replace media when a preview cuts off important content.
- Use platform-specific guides when a post format has strict file or aspect-ratio rules.
Editing Media Before Publishing
Use the available media editing controls to make small adjustments before a post is scheduled. Keep the original asset in the Media Library clean unless you intentionally replace it.
- Open the media item from the composer or suggestion editor.
- Crop or reposition the asset for the selected platform format.
- Replace the media when the visual does not match the post goal.
- Save the post or Plan suggestion after the media looks right.
Video Processing
Large videos may need processing before they are ready for publishing. Picmim shows processing status so you know whether a video can be scheduled safely.
- Upload video in a supported format such as MP4 or MOV.
- Wait for processing to finish before relying on the final preview.
- Choose or update thumbnails where the platform supports custom covers.
- Save the post as a draft if the video is still processing.
Warning: A post with media that fails processing cannot publish successfully until the media issue is fixed.
Attaching Media to Posts
Picmim lets you attach media from several sources so manual posts and Plan suggestions can use the right asset without leaving the workflow.
- Choose media from the Media Library when you already uploaded the asset.
- Upload new photos or videos directly from your device.
- Import or export Canva designs when that integration is connected.
- Use Pexels or supported GIF search for stock-style content when it fits your brand.
- Replace media on a Plan suggestion before publishing the Plan if the first visual is not right.