Picmim helps you move from a blank social calendar to ready-to-review content. Start by creating your account and workspace, connect the channels you want to publish to, then let Pim build your first Plan or create a manual post when you already know what you want to say.
Sign Up and Create Your Workspace
Your workspace is where Plans, posts, media, social accounts, billing, and team members live. New accounts can preview their first generated week, then choose a paid plan to unlock the full calendar, publishing, analytics, and the review workflow.
- Create your Picmim account with email or Google.
- Verify your email address when Picmim asks you to confirm it.
- Name your first workspace after your brand, business, client, or project.
- Choose the social channels you want to manage so onboarding can point you in the right direction.
- Choose Standard or Pro when you are ready to unlock the full workspace.
Connect Your Social Accounts
Pim and manual publishing both need connected social accounts before content can be scheduled. Picmim connects through each platform's secure authorization flow, so you never share social passwords with Picmim.
- Open Settings and choose Connected Accounts.
- Select Add Account, then pick the platform you want to connect.
- Authorize Picmim in the platform window and grant the requested publishing or analytics permissions.
- Select the pages, profiles, channels, or accounts you want available in the workspace.
- Repeat for each account you want Pim or the composer to use.
Tip: If a Plan setup screen says no channels are available, connect at least one social account first.
Create Your First Plan
A Plan is the fastest way to get useful drafts into review. Pim asks for a short brief, creates post suggestions for your selected channels, and lets you swipe through the ideas before anything is scheduled.
- Open Plans from the workspace sidebar and choose New Plan.
- Tell Pim your goal, topic, timeframe, caption language, emoji level, and any source links that matter.
- Choose the connected accounts or channels the Plan should prepare content for.
- Add brand assets from the Media Library, Canva, uploads, or skip assets for now.
- Review suggestions, keep the ones that fit, edit when needed, and publish the Plan when the schedule looks right.
Tip: Publishing a Plan schedules only the posts you accepted. Declined suggestions stay out of the calendar.
Review Your Calendar
The Calendar shows manual posts, scheduled Plan posts, drafts, failed posts, and approval states in one timeline. It is the easiest place to check what is coming up before content goes live.
- Open Calendar from the workspace sidebar.
- Switch between day, week, and month views depending on how much context you need.
- Filter by account, platform, status, or team member.
- Open any scheduled post to check the caption, media, accounts, timing, and review status.
- Drag scheduled content to another time when the plan changes.
Use the Dashboard
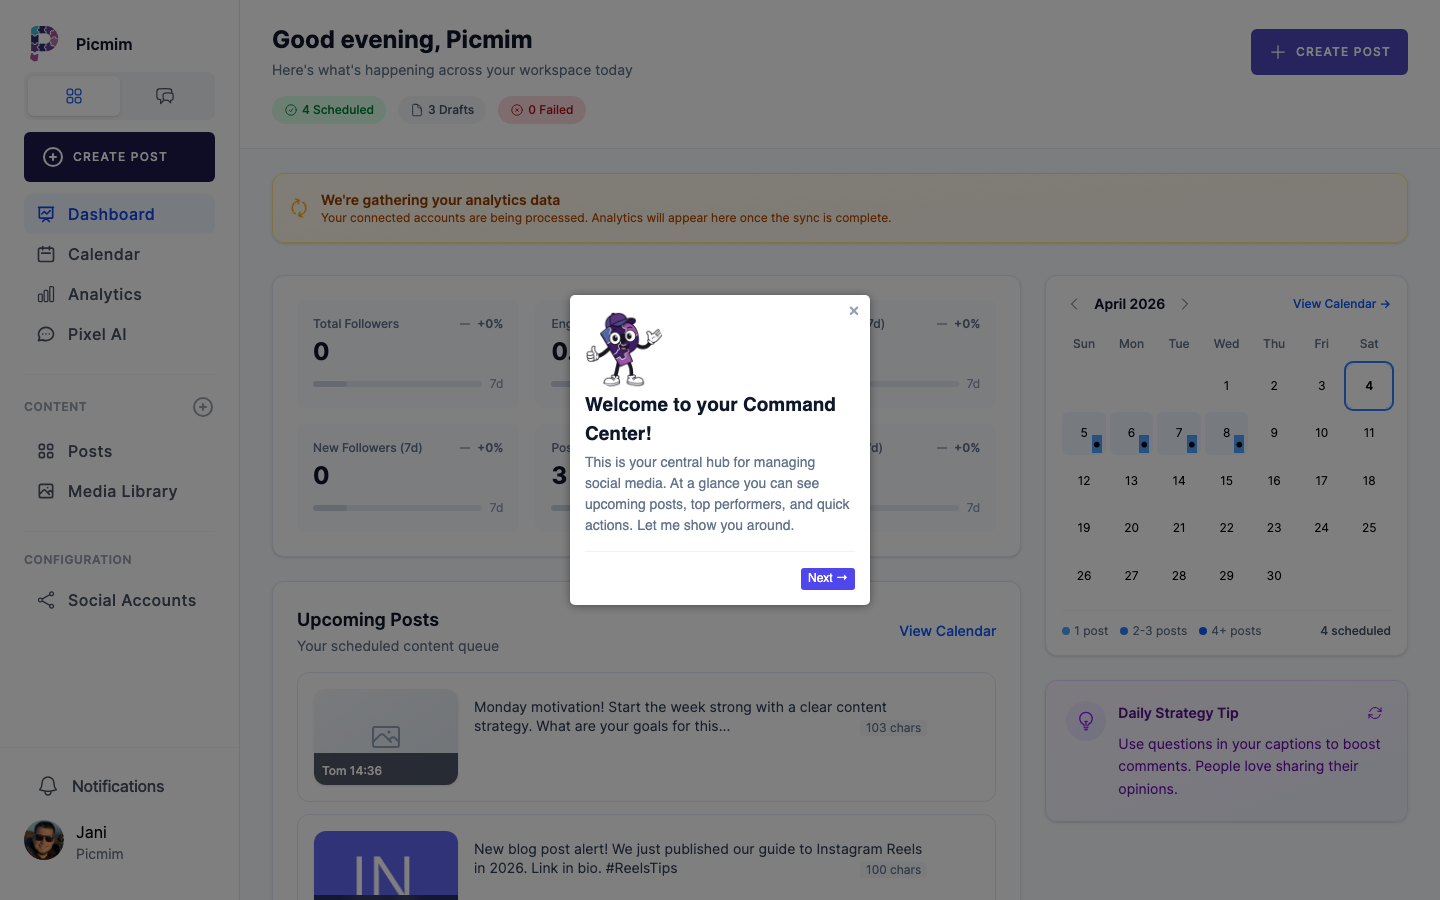
Your dashboard gives you a quick sense of workspace activity: upcoming posts, recent publishing events, account health, and shortcuts back into Plans, Calendar, Analytics, and Media Library.
- Check upcoming scheduled content before starting new work.
- Watch for failed publishing or disconnected-account alerts.
- Use shortcuts to start a Plan, create a manual post, open Analytics, or manage media.
- Return to the dashboard when you need the workspace snapshot rather than a detailed editor view.
Create Manual Posts
Plans are ideal when you want Pim to generate several reviewed suggestions. Manual posts are best when you already have a specific announcement, asset, or caption ready to publish.
- Choose New Post from the dashboard, Calendar, or post area.
- Write the caption or ask Pim for a rewrite or caption variation.
- Attach media from the Media Library, Canva, uploads, Pexels, or supported GIF sources.
- Select the accounts you want to publish to and adjust platform-specific settings.
- Publish immediately, schedule for later, or submit for approval if your workspace requires review.
What to Do Next
Once your first workspace is working, add the pieces that make Picmim feel reliable for weekly use.
- Create a Plan for the next week or campaign.
- Upload reusable assets to the Media Library.
- Invite team members and decide who can approve content.
- Check Analytics after posts publish so future Plans can build on what works.
- Review Billing when you are ready to unlock or change your paid plan.
Keyboard Shortcuts
Keyboard shortcuts help when you are reviewing and editing quickly. Availability can vary by page, so use the shortcut help in the app for the current view.
- Use the left arrow to decline a Plan suggestion when swipe review is active.
- Use the right arrow to keep a Plan suggestion when swipe review is active.
- Use Cmd/Ctrl + Enter in composer areas when the current action supports publish, schedule, or submit.
- Use Cmd/Ctrl + S where available to save the current draft.
- Use the in-app shortcut helper to see page-specific commands.
Tip: Shortcuts are helpful, but every critical review and publishing action also has visible buttons.