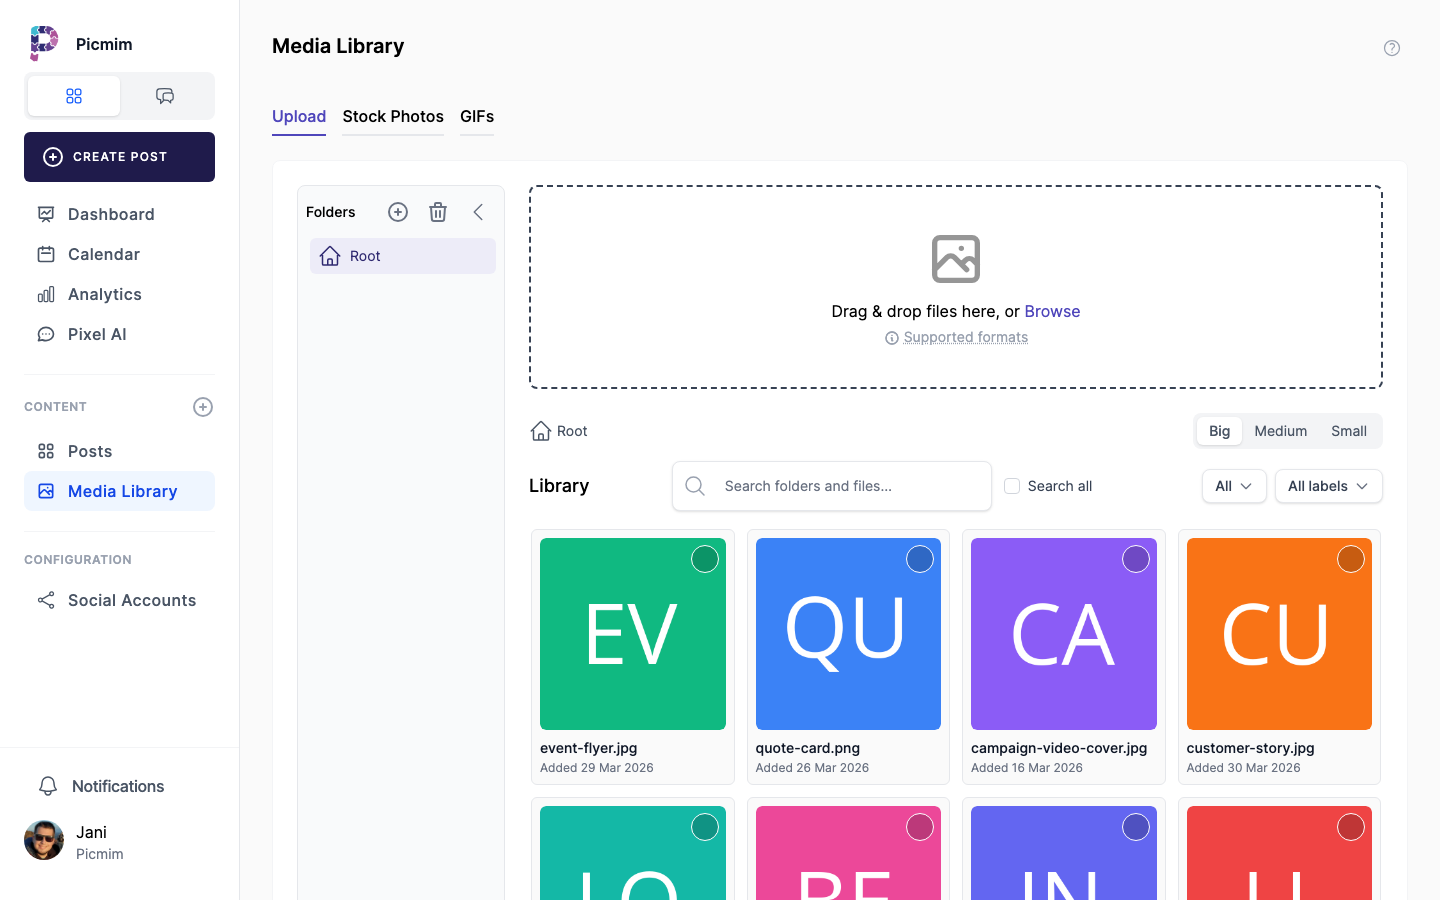
The Media Library keeps your workspace assets ready for manual posts and Plans. Upload images and videos, organize them by folder or tag, import from supported sources, and replace assets during Plan review when a suggestion needs a stronger visual.
Uploading Media
Upload reusable photos, videos, and creative files before starting a campaign, or add assets while creating a post or Plan. Large uploads may process in the background.
- Open the Media Library, composer, or Plan asset step.
- Choose Upload or drag supported files into the upload area.
- Wait for upload and processing status to complete when files are large.
- Use supported image and video formats for the platform you plan to publish to.
- Organize new assets into folders or tags so the team can find them later.
Tip: If media is still processing, save the post or Plan work and return when the file is ready.
Organizing with Folders
Folders help teams keep brand, client, campaign, seasonal, and product assets separate. Clear organization makes Plan setup and manual publishing faster.
- Create folders for brands, campaigns, products, clients, or content themes.
- Move uploaded files into the right folder after import.
- Use colors or icons if your workspace uses them for faster scanning.
- Keep source files and final exports separated when both need to be stored.
- Archive or delete old assets when they are no longer approved for use.
Tags and Filtering
Tags give you a flexible way to find assets across folders. Use them for content pillars, campaign names, people, product lines, locations, approval state, or usage notes.
- Select one or more media files.
- Add existing tags or create new ones that match your workflow.
- Search or filter by tag when selecting media for posts or Plans.
- Use consistent names so the whole team can find the same asset set.
AI-Powered Search
When semantic search is available, you can search by what an image appears to contain instead of relying only on file names and tags.
- Open the search field in the Media Library.
- Type a natural-language description of the visual you need.
- Combine search with folders or tags to narrow results.
- Preview assets before using them in a post or Plan suggestion.
Tip: Search works best when you describe visible details, such as product on table, team photo, coffee shop counter, or outdoor event.
Canva Assets
Use Canva when your team designs social assets there, then bring the finished export into Picmim for scheduling and review.
- Create or finish the design in Canva.
- Use the Picmim export or import option available in your workflow.
- Choose the destination folder or post where the asset should appear.
- Review the image in Picmim before scheduling.
- Replace the visual on a Plan suggestion when the Canva design is the better final asset.
Pexels Stock Photos
Pexels can help when you need a quick supporting image and do not have original brand photography. Imported assets should still match your brand and content claim.
- Open the media source options from the library, composer, or Plan suggestion editor.
- Choose Pexels and search for the visual theme you need.
- Preview the image and import it to the workspace.
- Place it in a useful folder or attach it directly to the post.
- Review the final preview before publishing.
Tip: Stock photos are useful, but original product, team, or location images usually make Plans feel more specific.
GIF Search
GIFs can add personality on supported platforms, but they are not a universal format. Check the platform preview and guide before scheduling.
- Open the media source options in the composer.
- Choose the supported GIF source.
- Search and preview the GIF before attaching it.
- Confirm that the selected social platform supports GIF publishing through Picmim.
Warning: If a platform does not support animated GIF publishing through Picmim, use a supported image or video format instead.
Media Notes and Team Review
Use notes to explain asset usage, request edits, confirm approval, or warn teammates that a visual should not be used in a Plan yet.
- Open the media file details.
- Add a note with feedback, approval status, or usage context.
- Reply in the thread when another teammate asks for changes.
- Update the post or Plan suggestion after the asset is approved.
File Details and Usage
File details help you confirm that the right asset is being used and whether it has already appeared in past content.
- Open a media item to view its details.
- Check format, size, dimensions, upload date, and uploader when available.
- Review usage information when Picmim shows where the file has been used.
- Download, replace, archive, or delete the asset according to your workspace permissions.