The Calendar is where accepted Plan posts and manual posts come together. Use it to review upcoming content, track approval states, adjust schedules, and catch publishing issues before they disrupt your plan.
Calendar Views
Switch between calendar views depending on whether you need a detailed daily schedule or a broader campaign overview.
- Use day view when you need exact publish times and post details.
- Use week view to balance a near-term lineup across channels.
- Use month view to spot gaps, clusters, launches, holidays, and campaign pacing.
- Open a post card to inspect caption, media, accounts, status, and timing.
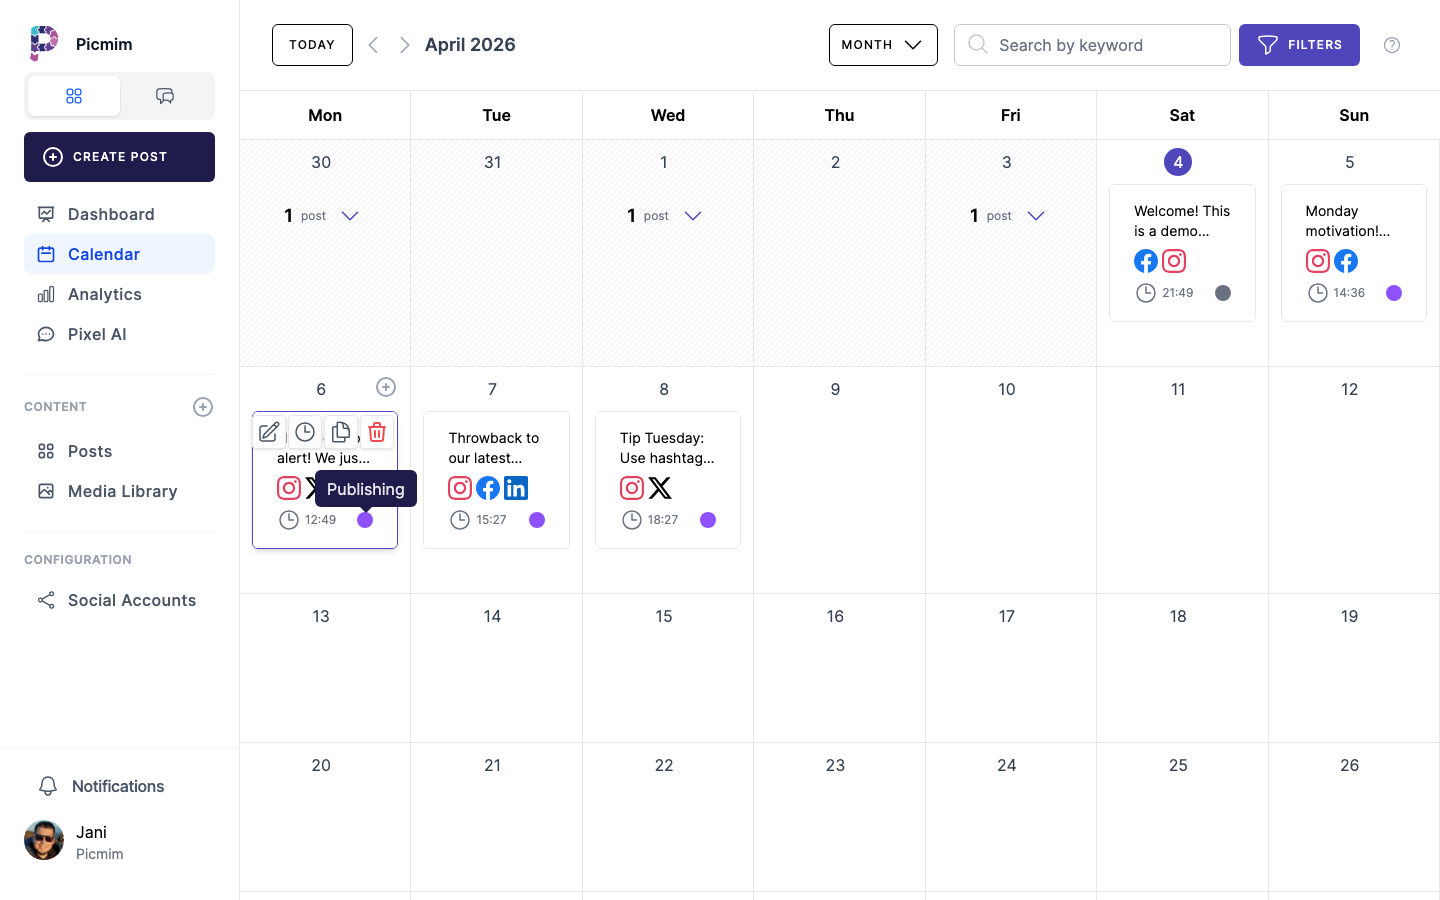
Rescheduling with Drag and Drop
When plans change, move scheduled posts directly on the Calendar instead of reopening the full workflow.
- Click and drag a scheduled post card to a new date or time.
- Confirm the updated timing if Picmim asks for confirmation.
- Open the post after moving it if platform-specific timing or approval status needs review.
- Check team notifications when a schedule change affects collaborators or approvers.
Tip: Drag and drop changes the scheduled time. It does not rewrite the caption or replace media.
Filtering Content
Filters help you focus on the slice of work that matters, especially in busy workspaces with several Plans, brands, or team members.
- Filter by platform or connected account.
- Filter by post status, such as draft, approved, scheduled, published, or failed.
- Filter by creator or teammate when reviewing work by owner.
- Clear filters when you need the full workspace schedule again.
Status Indicators
Post cards use labels, colors, icons, or badges to show where each item is in the publishing workflow.
- Drafts still need work before scheduling.
- Submitted or needs-review posts are waiting for an approver.
- Approved or scheduled posts are ready for their publish time.
- Published posts have already gone live.
- Failed posts need attention before retrying.
Creating Manual Posts from Calendar
Use quick creation when you know exactly when a manual post should go out. For a full batch of AI suggestions, start from Plans instead.
- Click an empty time slot in the Calendar.
- Create a manual post with the selected time prefilled when available.
- Add caption, media, accounts, and platform settings.
- Save as draft, submit for approval, schedule, or publish now.
Tip: Plans can fill several Calendar slots at once after you publish the accepted suggestions.
Post Status Lifecycle
Understanding statuses helps you know whether a post needs writing, approval, scheduling, publishing, or troubleshooting.
- Draft: The post exists but is not ready for publishing.
- Needs approval: The post is waiting for a reviewer or teammate with approval rights.
- Approved: The post has passed review and can move forward.
- Scheduled: The post has a future publishing time.
- Published: Picmim successfully published the post.
- Failed: Publishing did not complete for at least one destination and needs review.
Timezone Handling
Timezone settings affect how scheduled content appears and when posts go live. Confirm the workspace timezone before running time-sensitive campaigns.
- Check the workspace timezone in Settings.
- Review account-specific timezone behavior when managing audiences in different regions.
- Use Calendar display controls when you need to inspect the schedule from another timezone.
- Confirm dates and times after daylight saving changes or campaign handoffs.
Warning: Changing a display timezone is not the same as changing the scheduled publish time. Always review the post before saving schedule changes.